Good Friday Morning to you lovely ladies...
Us girls over here at SOUS have decided to post some tutorials every other Friday..Which will be the non-challenge weeks.. We want to inspire you to try new things and we know that their are lots of techniques and methods that we all want to learn how to do..
So, to start off this years first tutorial, we are going to teach you how to make these ribbon rosettes.. I'm sure their are lots of tutorials out there for these, so its not an original idea.. We just want to share an idea and a technique and hopefully this will make it easier for you to try these at home.. They are very quick and simple to make..
So lets get started shall we:
for the supplies you will need:
- ruler for measureing
- scissors for cutting
- ribbon
- glue
- circle punch (or use your cricut)
- needle and thread (use the same color as your ribbon)
- brads of choice ( used the glazed from BG-which I got from Generations Crafting)
- cardstock
- white paper flowers ( you can use any color)
- hole punch (which is not pictured: I used my crop a dile)
step one: cut your ribbon/lace to 12" long.. this ribbon measures 1.5" wide, which will make a really big rosette..
step two: Run your needle and thread along the very edge of the ribbon like so..Weaving it in and out of the fabric..
step three: Once you have it weaved all the way, start to slowly gather the material together as you pull on the thread.. being careful not to cut the thread.. if you do, just start over again from the beginning :)
Step four: before tying the ribbon, sew the two ends together on the wrong side of the rosette..
step five: use your circle punch or your cricut to cut a small circle and then punch a small hole in the middle of it..
Step six: use some strong and quick drying glue (or glue gun) to glue the circle to the back of the rosette. Set aside to dry
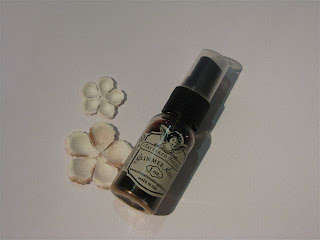
for these flowers I used some white flowers and sprayed them with glimmer mist..
now add the brad through the two flowers and then place it on your ribbon rosette as so.. This way you can match your rosette with the ribbon runner on your layout...
Here is a smaller rosette I made using laced ribbon that measures 3/4" wide, a white flower and a brad.. You can use any ribbon or any lace to make these quick and simple rosettes.. It took me maybe 5 mins to make each one.. quick and simple!! :)
you dont' have to use a flower in the center either, you can cut a piece of cardstock or printed paper of your choice to match your layout.. I just like the way the flower looks..
you dont' have to use a flower in the center either, you can cut a piece of cardstock or printed paper of your choice to match your layout.. I just like the way the flower looks..
We hope that this tutorial has inspired you to try to make these at home..They will bring lots of beautiful detail to any layout or card..
If you wish to see an example of a layout useing this same rosette, please visit Nanne's blog and see her "Blessing" layout..
Thank you ladies all so much for stopping and taking a look..
Hugs


