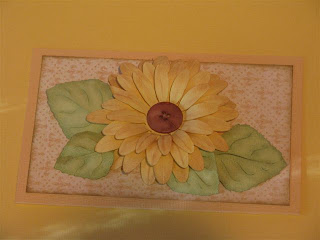
 I made this sunflower using the shadow blackout cut from the Graphically Speaking cartridge and the leaves are cut from the A Childs Year Cartridge.
*Remember to click on the small photo and it will open up a bigger one..
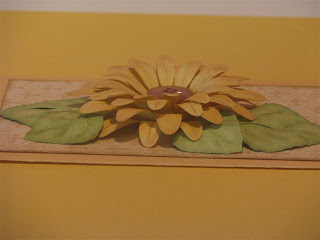 Here is the side view of the what the flower will look like with all of the layers.
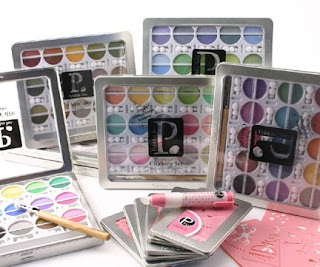 These are the chalks that I use.. but I don't see any difference in the brand name.. I also have the smaller packs of 4 colors by INKADINKADO..I actually think they are better, more softer..
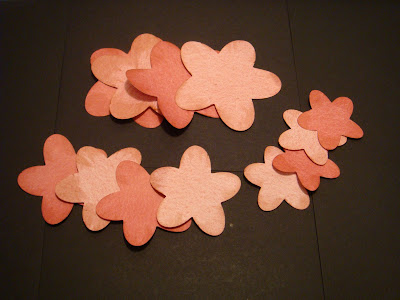
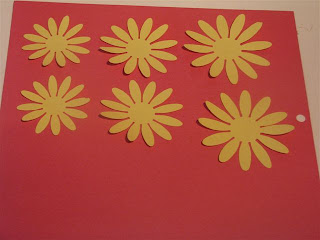 First: Cut 2 x 4", 1 x 3.5" and 1 x 3" shadow blackout flowers. I know the photo has more, but once I started layering them, I noticed that it didn't need so many after all..
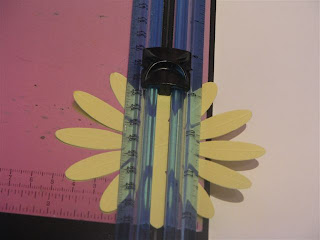 Once the flowers have been cut, I used my paper trimmer and the fold cutter to add seems to the pedals. I just turned the flowers around until all of the pedals had seems..
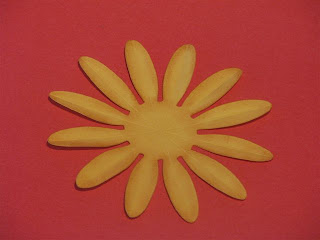 Then, using my fingers I bent the pedals at the seems. folding them upwards will add a darker seem once chalked and folding them downwards will give you a lighter seem. once I had them folded, I chalked around the edges and the seem with an orange chalk.
 Next step is to use your fingers and push all of the pedals upwards towards the middle.
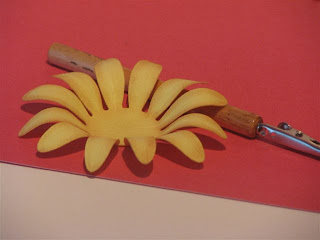 Then using a pen, pencil or in my case the chalk applicator handle, I bent the tips of the flowers downwards.. I did push them upwards a little with my fingers till I was happy with the end result.
 I added my pop dots to the centers of the flowers. In this photo you can actually see the difference in the seem colors..one of the bigger flower is folded up and the other is folded down..
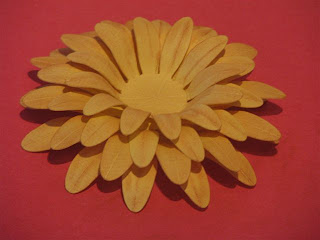 and assembled them making sure that the layering pedal was always in the middle of the bottom pedals.
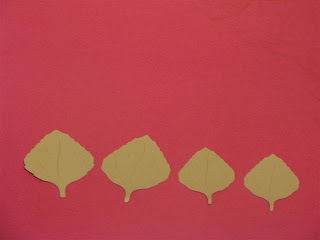 I then cut my leaves using the A Childs Year Cartridge.. The smaller leaves are cut at 2" and the bigger are 2 1/4", but I wanted the bigger ones a bit wider, so I stretched the width a little using the design studio software.
 I then chalked them, first with a light green and then with a darker one to give it more of a realistic look. I also bent the leaves a bit and scrunched them up, once again to just give them that little bit of a realistic appeal..
Please please please don't be afraid of bending and twisting your papers.. it is so much fun...
 Finally I added a big brown button to the center of the flower and then added the leaves..
This is an over grown flower which would be excellent on the bottom corner of a layout or even as a card..
Thank you ladies so much for participating in our fun. We hope you get a lot of use out of this flower.. Using many different patterned and/or colored papers, your end results are endless.. You can for example make a daisy using white paper and a yellow button..


