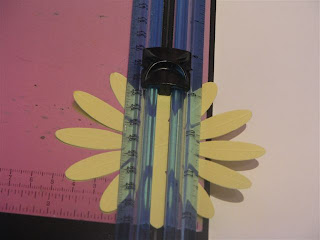
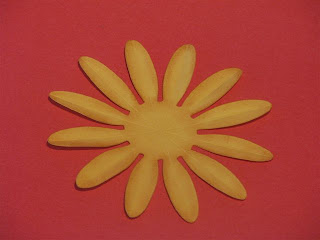
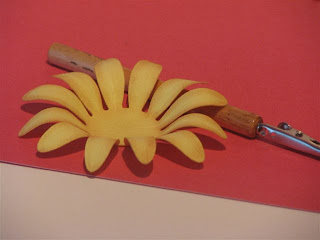
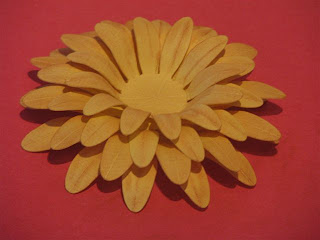
 Happy Friday everyone! Once again I have the pleasure of being a part of this fabulous DT here at SOUS. I would like to show you a fun new flower I've created...come on, let's play!
Offray Garbo ribbon, measures 5/8in or 15.8mm (it is very important to use ribbon that has a satin center with a sheer edge to achieve the flower I am making today, this one is Offray's Garbo, I purchased it at WalMart).
brads
eyelet punch
something with the widths of 3 inches and 2 1/2 inches (I have used a ruler and a scrap of lightweight cardboard)
buttons, bling (anything you would like for flower centers)
scissors
 First, I've wrapped ribbon around my ruler 4 times. One of the ribbons I've wrapped tightly and the other loosely. Second, I've wrapped ribbon around the cardboard 3 times. (you can tape the ribbon so that it is easier to handle when sliding off the ruler if you like)
 Then punch each ribbon loop in the center and place on a brad from smallest to largest. (the loose ribbon would be considered the largest)
 Now you should have something like this.
 Fan out all the 'petals' like so.
 Snip each 'petal' down the center as close to the brad as possible.
 Can you see your flower taking shape?
 Now the fun part...pull the fibers apart in the center of each petal.
 I think it looks so heavenly!
 All you have to do now is chose a center for your flower, I had an old necklace that I took this metal flower from. Viola...you have a flower that is so dreamy and feathery. I chose the name, fleur de plumes, because it means feather flower in french, I think it suits it perfectly!
So...you could stop here or...you know me...gotta add some more details!
 If you chose to add some additional flair use a two inch circle as a base to add the fun. I've cut my circles with my cricut from some neutral card stock. For this flower I've added some tiny pearls and some feathers. Apply hot glue to the items, a bit to the circle and place you flower on top.
 Just a bit more pizazz, don't you agree?
 I'd like to share a few more of my flowers with you. For the green flower I've cut the 'loops' so the flower lays flat.
 I had some really fun antique earrings and decided to use one for the flower center on this black flower.
 For the orange flower I've cut a flower with my circut, water distressed the layers, added beads to the center and finally, glossy accents to hold them in place. The black flower is a loop wrapped 6 times around the 2 1/2 cardboard strip, I added a decorative brad to the center. (a great way to use up the left over bits of ribbon)
 This pink one is my original prototype...LOL...I've added feathers, a button, a circle of tiny pearls and some white sequins.
 This red flower has a pair of silver leaf earrings dangling from the bottom for a little twist. The beads on the purple flower are actually a snip from a beaded eyeglass cord.
 I would like to mention that my items were very easy to come by. I live in a small town with limited shopping and I have to get creative so just a few notes. I purchased dream catchers from the $1 Tree and was able to get lots of feathers from them. Also from the $1 Tree, beaded eyeglass cords to use as accents. Thrift stores and flea markets are great for old jewelry. WalMart carries the ribbon in a variety of colors and also has the tiny pearls and sequins.
 If you chose to add some additional flair use a two inch circle as a base to add the fun. I've cut my circles with my cricut from some neutral card stock. For this flower I've added some tiny pearls and some feathers. Apply hot glue to the items, a bit to the circle and place you flower on top.
 Just a bit more pizazz, don't you agree?
 I'd like to share a few more of my flowers with you. For the green flower I've cut the 'loops' so the flower lays flat.
 I had some really fun antique earrings and decided to use one for the flower center on this black flower.
 For the orange flower I've cut a flower with my circut, water distressed the layers, added beads to the center and finally, glossy accents to hold them in place. The black flower is a loop wrapped 6 times around the 2 1/2 cardboard strip, I added a decorative brad to the center. (a great way to use up the left over bits of ribbon)
 This pink one is my original prototype...LOL...I've added feathers, a button, a circle of tiny pearls and some white sequins.
 This red flower has a pair of silver leaf earrings dangling from the bottom for a little twist. The beads on the purple flower are actually a snip from a beaded eyeglass cord.
 I would like to mention that my items were very easy to come by. I live in a small town with limited shopping and I have to get creative so just a few notes. I purchased dream catchers from the $1 Tree and was able to get lots of feathers from them. Also from the $1 Tree, beaded eyeglass cords to use as accents. Thrift stores and flea markets are great for old jewelry. WalMart carries the ribbon in a variety of colors and also has the tiny pearls and sequins.
I hope I've inspired you to try this, it was so much fun playing around this week and coming up with this idea. Please stop by my blog Details by Sandy and let me know what you've made. I'd love to see what you come up with!
Thanx to the DT for having me again!
Have a blessed week...Hugs,
Sandy


