
 Hi everyone Wanda here, I am gonna show you how I made this Family wall decoration
 A great way to show off your Grand kids maybe a sports pic or a vacation trip ..... I choose to show off my 2 Beautiful Grand daughters
 First you are going to need your wooden letters I bought mine at Michael's and they are 9ins.
your mod podge, any black paint ,a pencil, scissors, sand paper, Sm foam brush and a printer.
 First I painted my letters black try to do nice even strokes so you don't have a lot of brush lines
While the letters are drying choose the pictures you want to use and print them with your printer, I made mine black & white .
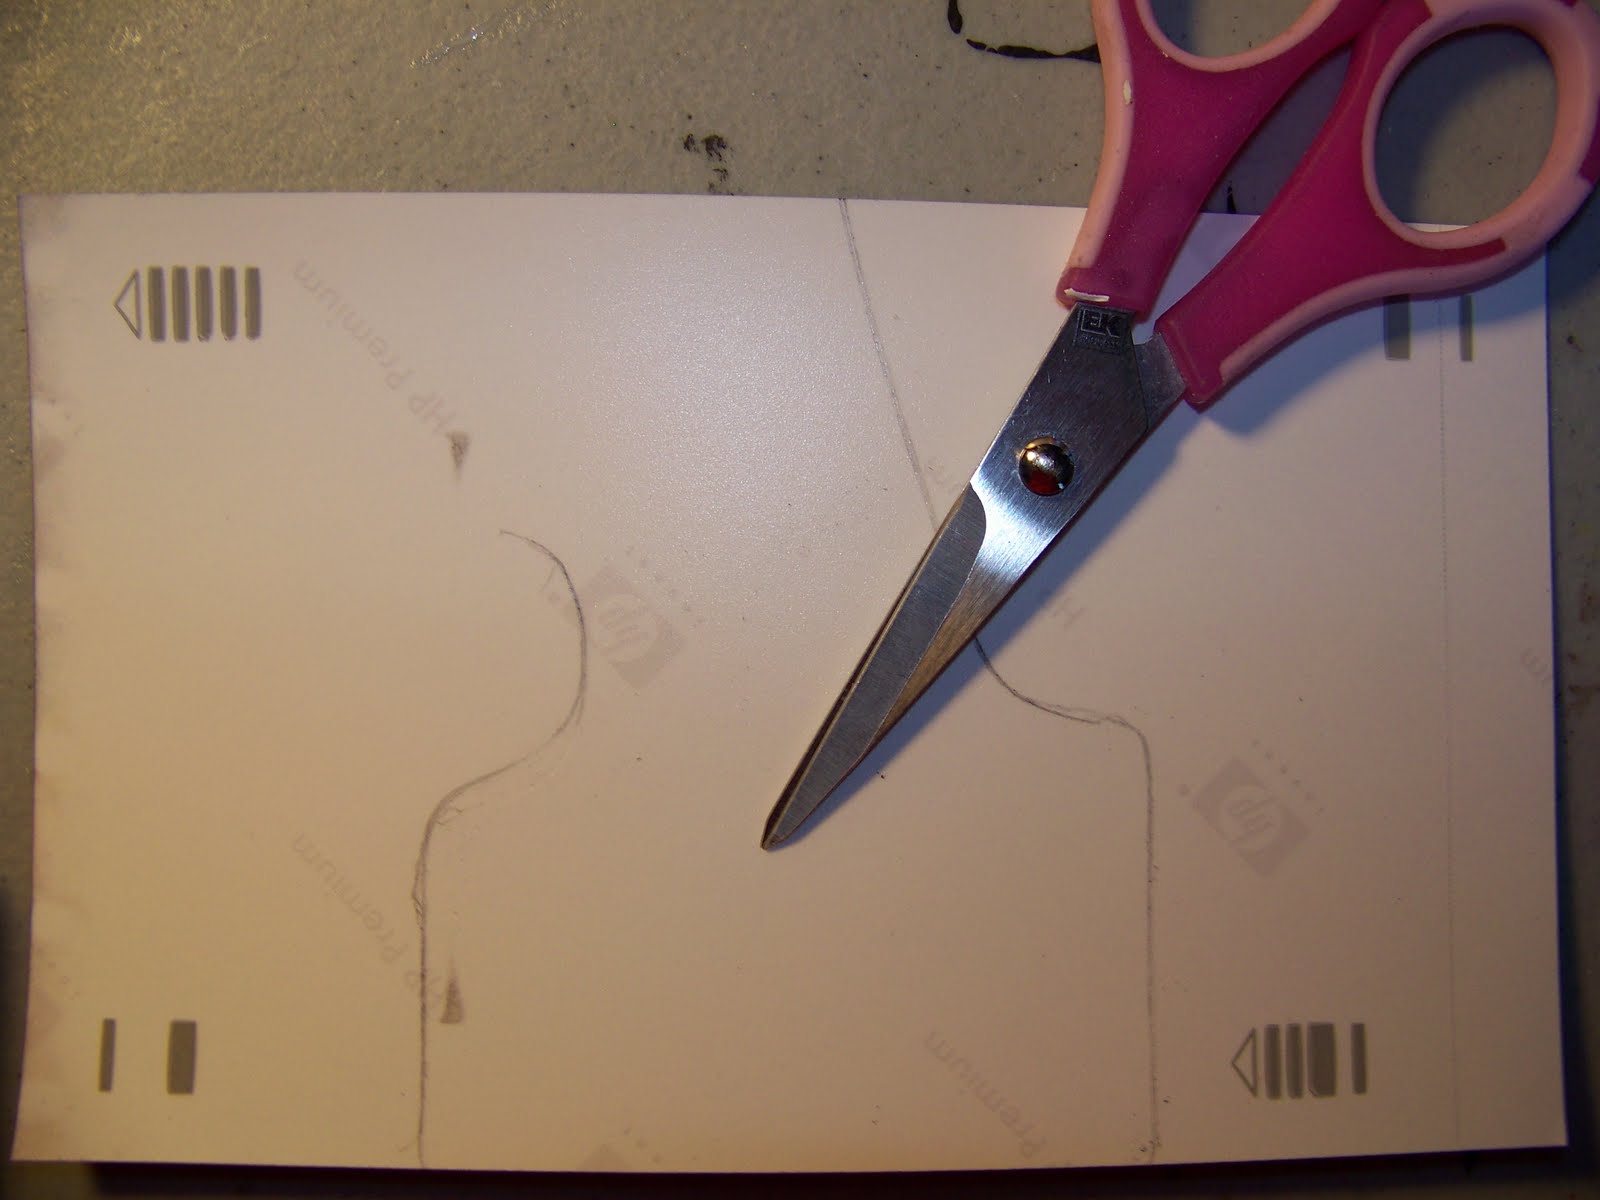
 Then you are going to lay your picture on the letter where you want it and flip it over so you can trace around it with your pencil. I add a little two way tape to keep it in place when flipping it...
 Next you are going to take your mod podge and apply it to the back of your picture then place your picture where you want it on your letter , do this with all your pictures.
 Then you are going to lay your picture on the letter where you want it and flip it over so you can trace around it with your pencil. I add a little two way tape to keep it in place when flipping it...
Once you have traced them go a head and cut them out don't worry if they go over the edge of the letter ...you are gonna sand them.
 Next you are going to take your mod podge and apply it to the back of your picture then place your picture where you want it on your letter , do this with all your pictures.
Once that is done take your sand paper and go around any of the edges of your pictures that are
hanging over the edge of the letter and sand them down , I also sanded here and there on the edge of the letters...this is optional .
Now take your Mod Podge and apply it to fronts & sides ( INCLUDING PICTURES ) of the letters you will want to do this rather quickly as it drys pretty quick. I started with the sides first. Let them dry completely......a few hours
Once dry embellish as you wish .
I made mine country for my living room , used ribbon , buttons ,lace,....and some charms.
the possibilities are endless ...I see a Disney maybe a beach one , what ever you choose have fun with it and enjoy.
Thanks for letting me share this with you.
Wanda
OMG Wanda, this is awesome. I made some family letters a couple years ago but never thought of adding pics. Love it. Thanks for sharing
ReplyDeleteTrish
Love it Wanda!! Thanks for sharing :)
ReplyDeleteWhat a great, creative idea. I love it!
ReplyDeletethis is gorgeous, love it!!! <<<needs some modg podge lol
ReplyDeleteWanda ..you did a fabulous job. You know I love this. It is even better in person. I might have to give this a try. TFS
ReplyDeleteOh Wanda...this is SO cool! I just love it! I also love how striking it is in this color scheme as well. This isn't something I would have thought of but I really do love it!
ReplyDeleteAnd your GD's are soooooo sweet! Fun to see photos of them!
Thanks so much for sharing this!!!!
Leah
Beautiful wall deco, Wanda!!! Looove it!!! Hugs!!
ReplyDeleteGreat project!!!
ReplyDeleteI love how this came out!
wow how cool and beautiful that it is love it!!
ReplyDeleteWanda, these are just fabulous! I have decorated these letters before but never thought to add photos! What a cool affect!
ReplyDeleteLove, LOVE this! Thanks so much for the tutorial. I am going to be trying this for our dining room as soon as we get moved to the new place. Hugs :)
ReplyDeleteThose are awesome, Wanda! This is something I'd like to do sometime! Would be great for a baby's room!
ReplyDeleteOh I so agree with everyone.. this is such a cute idea and you know I'll be having a go at it soon..LOL thnx for sharing this with us girls..
ReplyDeletehugs
Nanné
Wow!!! Awesome project!! Soooo cool!!
ReplyDelete