Friday, April 8, 2011

April 8th tutorial ~ Altered box


Hi, everyone! I thought that I would have some fun this week altering a wooden box that I bought at the local craft store. Since I am expecting to be doing some beyond the page projects soon, I thought I'd get a little practice in "altering" before I start those!  Okay, let's have some fun, shall we?!


This is what my box looked like to start. It was just the bare, unfinished wood that needed just a bit of sanding before I did anything.  I plan to use this for storing photos that need to be scrapped soon.


Next I removed as much of the hardware as I could.  The corner pieces were nailed on and gave me some resistence as I tried removing them. In order to refrain from bending those, I just left them in place.  My hardware pieces were smallish, so I used some jewelers screwdrivers to get the job done quickly.


Okay, so this was the fun but messy part! I LOVE making a mess when I work! Paint, ink, glue .. lets me know that I'm working on something good.  LOL! Anyhoo .. I took my box out to the hubby's garage and used some wood stain that he had on hand (MinWax Wood Finish) .. the color is Provincial 211.  Because I wanted my box to be fairly dark, I used 2 coats.


While the box was drying (which it does fairly quickly), I went back to my craft room and choose some paper and embellishments to use.  The sky is the limit here but my paper is from Basic Grey's Curio collection, the flowers and bling are Prima. I used all the same flowers because this project doubled as a design team project for Generations Crafting.  So I cut my paper to fit the box, rounded the corners a bit, then used some Colorbox Chestnut Roan ink on the edges. 


I used some glossy Modge Podge to adhere the paper to the top of the box.  Although my photo shows the "right" side of the paper, the glue went on the underneath side of it. 

Then I let that sit a bit to dry.


Next I used more of the glossy Modge Podge to coat the top of the box .. to add some sheen. I'm sure you're laughing at my well-used and well-loved brush but it is a fave of mine that I just can't toss.


This photo shows how the Modge Podge still has a creay white look to it before it actually dries to a nice gloss.


Time to decorate! Since I already had the glue out, I used it to adhere the crochet doily from my stash. I have bought a ton of these from JoAnn's Fabrics because they add such nice texture to a project.  Not all craft stores have these, so I thought I would add where I purchased them.  I ran all over town looking!


Next I experimented with some skeleton leaves from my stash .. I believe these are Recollections brand. I decided the beige one looked the best, so chose that one.


Before adding my flowers (Prima Floret, Camille) I used some Tattered Angels Glimmer Mist in Iridescent Gold and Sunkissed Peach.  That gave the roses a nice glimmer .. but I wanted more, so I coated them with glossy accents and then dipped them in Diamond Dust.


Here is a close-up of the flower being dipped in the Diamond Dust .. do be careful though, especially with children around, because DD is made from finely ground glass.  I also have this in Gold and Silver for use at the holidays.


Here's my flower afterward! Sorry the focus is not better.


Before adding the flowers and other embllies, I added my Prima Say it in Pearls, brown, in 2 corners. Then everthing else was adhered with Aleene's  Tacky Glue.  Just let your imagination be your guide in adding on whatever looks good to you.


Here is a view of the box once the hardware was added back on.  I am thrilled with it! I have ordered some Tim Holtz metal feet to add to bottom of the box and let it stand up a bit from my desk .. think that will really look awesome!

I hope I have inspired you to do a little something "off the page" and I can't wait to see what ideas are spinning around in your head!  

Friday, April 1, 2011

April 1, 2011


Were sorry to inform you ladies that their will be no sketch reveal this Friday..
APRIL FOOLS!!!!

Now, would we be that bad to you and not do a reveal..No, of course not...LOL
But we would play a prank, thats for sure.. :)

So, we found this beautiful sketch by Beggahuna and knew that it had Spring written all over it and I can only speak for myself as I sit here, looking through my window and watching the snow come down (in April) that spring is desperately wanted right about now..

Sketch by:
Beggahuna

Sometimes I feel like I have the best position, up keeping this blog since I get to get a first time sneak peek at all of the wonderfully creative and beautiful layouts these talented ladies of our Design team send me every other week for out post..
so, without further a-do!! lets get to the good stuff shall we..

Best Time of your Life
Nanné Harry

I Love You
Sandi Clarkson

The Sweetest
Leah Schaeffer


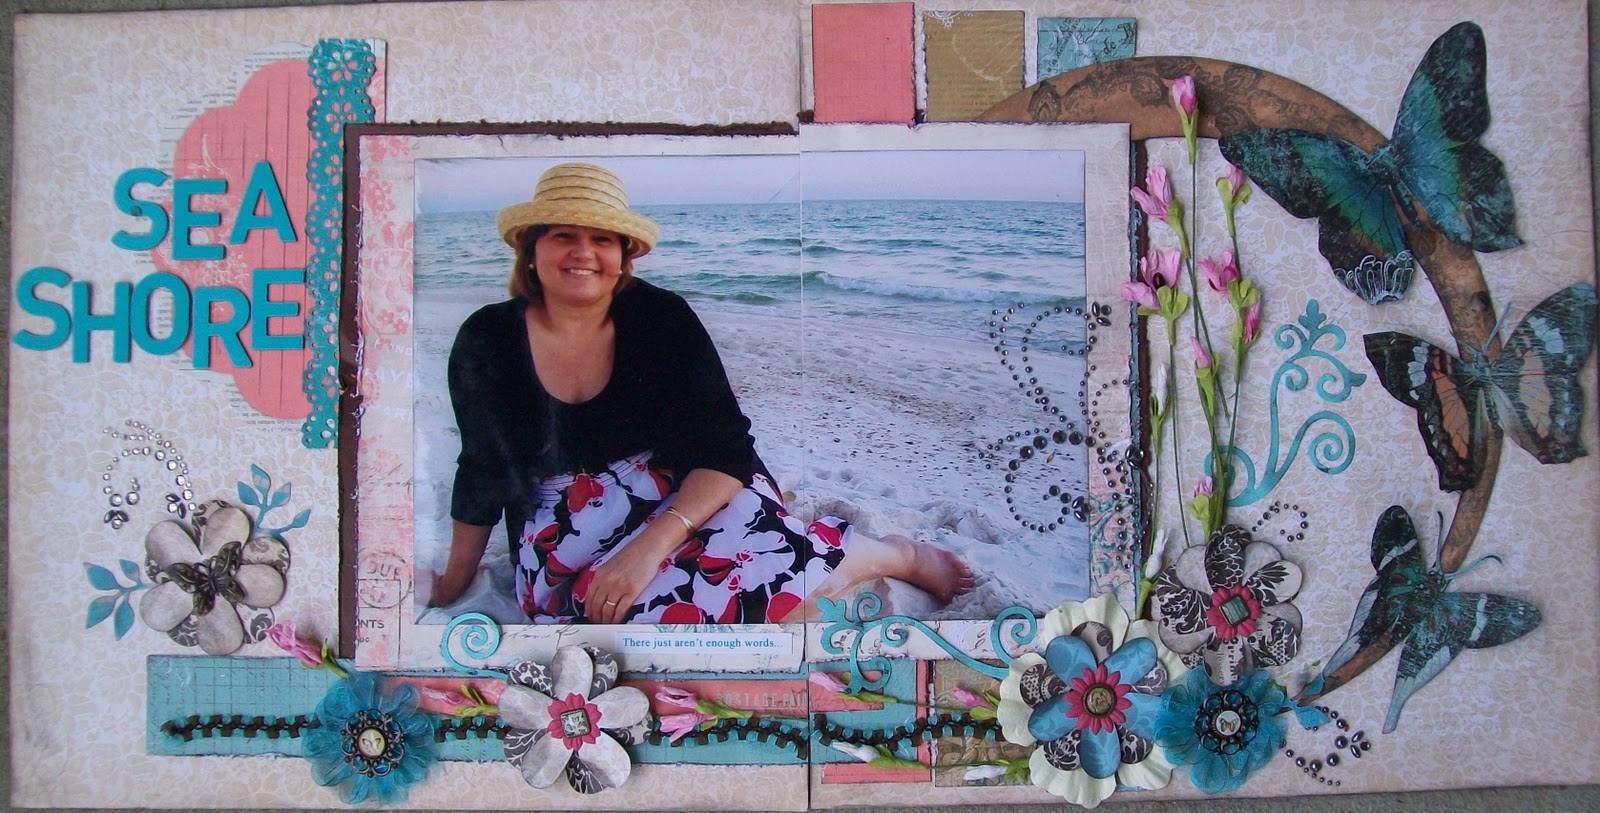
Sea Shore
Beatriz Guzman

Big Sister
Bonnie Friesen
Pretty Little Somethings

 The Lips of an Angel
Dawn Gallop
Flip Flops & Pops Tarts

Proud Winner
Fern Riley
Ferns Creations

 Hanging Out
Ness (Vanessa) Waller
Crafty-Ness

Christmas 2008
Stine Ursin
Hobby Blog


Bruce
Wanda Boardley
My Scrap Happy Place


So, there we have ladies..wow!! what a beautiful line up or what?.  I know I feel inspired, how about you?..
So, lets get busy creating and when your done, don't forget to link your work back to us using inlinks.. super easy to use and if your having any problems at all, please leave a comment and we'd be more than happy to help ..
We all hope you have a wonderful weekend.


Friday, March 25, 2011

RUFFLED BANNER & FLOWER

Hello all from Annette, today I wish to show you a great & economical way to decorate your layouts,
your requirements are:
Circle punch, Versa mark ink or similar, old book or patterned paper, sewing machine or needle & thread
My circles are punched using a Marvy scalloped punch & measure 3" across, 
and I bought an old dictionary from charity store for 50 cents.. what a bargain !!!! 
step 1. punch out 15 circles, 


Step 2. Ink all edges of circles on both sides 
Step 3.    Fold 1 circle in half, then fold the other 2 so the lower edge of each is visible when fitted together, repeat to make 4 ruffles in total.

 Step 4. For the flower,   crumple remaining 3 circles, stack together, hold in place with a brad or stitch a button as flower centre.
 Step 5.    Open out the ruffles, position on background paper where you desire your banner & stitch in place by machine or hand along fold line 
Step 6.     Fold top ruffles down and crumple edges
Step 7.     Create your LO how desired, I have distressed & inked all edges, added some inked chipboard embellishments, tied string through the ruffles, knotting in between each one,

Step 8.     Position flower and adhere in place 
Step 9.     Tah dah … all done.... 
I had fun playing with this technique &  I hope I've inspired you to do the same
Please pop over to my blog 'Moment in Time' & share you creations with me
Have a truly blessed week
luv Annette X:)

Friday, March 18, 2011

March 18 Challenge... and who wants candy!?!


(Becky Fleck)

TGIF! Another week is almost done with a hopefully glorious weekend on the horizon!
We just want to say thanks to everyone who has participated in the challenge so far this month. We'd be nowhere without our followers! For those of you who are on Spring Break, hope it's full of fun! We would also like to extend our heartfelt thoughts and prayers to those suffering loss in the recent tragedies in Japan. It is simply more than we can even comprehend.

So, anyway, this week's challenge is a sketch ... which I (Sandi, here) scanned from Becky Fleck's book, Page Maps 2. When it is my turn to host, I try to always choose at least one if not more sketches that call for multiple photos. Let's face it .. we'd never get those albums caught up just doing one photo at a time!

Also, we are offering some blog candy donated by Generations Crafting .. but with new SOUS rules! To be in the running for the blog candy you MUST submit to THIS (3-18) challenge as well as the NEXT (4-01) challenge. We will choose a winner on April 14th and announce that winner on the April 15th post. You will have one week to claim your prize. Good luck! This goodie bag is full of yummy Glitz Design papers and embellies as well as some Prima items. Here's a look at what you will receive:


Now, let's get on with the show and see what the DT has done with the sketch!


A Fine Wine
Nanne Harry


It's A Party!
Sandi Clarkson


Love is all about you.
Leah Schaeffer

Candid
Annette Gearside

Uniquely Sweet
Beatriz Guzman

Daddy's Girl
Bonnie Friesen

1.2.3. Blow
Dawn Gallop

Daisy Troop 899
Fern Riley


Summer Fun
Vanessa Waller aka Ness

Ett år
Stine Ursin

BRrrrrrr
Wanda Boardley


We can't wait to see what you do! And remember, you have 2 weeks to link your project!